

Double-sided Fabric Wrap with Ribbon Tutorial
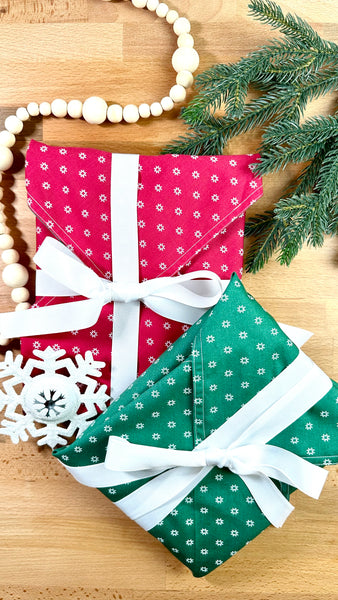
Double-sided fabric wrap with ribbon
When I was growing up, Santa always used special wrapping paper. It was always metallic! So fancy. I wanted to come up with a special twist for quilters and make it sustainable. Afterall, if a quilter runs out of wrapping paper, there’s plenty of fabric to use to wrap things! Plus, if you have a little extra ribbon, you can make an all-in-one alternative for paper that can be reused year after year. Plus, you can tie it to make the unwrapping more accessible.
Here’s what you’ll need:
- (2) fat quarters, one preferably a darker color to hide what it’s wrapping (or 18" x 18" squares).
- (2) 36" cotton or polyester ribbon of any width you’d like. I used a 7/8" grosgrain which works well.
- A pen or pencil for marking.
- A glass or mug to trace to create a shallow curve.
- Rotary cutter.
- Sewing machine.
- Ironing board and iron.
- Lighter to melt the raw edge of polyester ribbon (if desired).
Let's do this! Directions are below their respective photo(s).
- Cut a 18" x 18" square from each fat quarter.
- Lay out the squares on a cutting board, wrong sides together.

- Place your cup or mug at a corner, aligning with the edges of the fabric.
- Trace the outer rim of the cup/mug onto the fabric with a pen.
- Repeat on the other corners.

- Cut through both thicknesses on the drawn lines with a rotary cutter on all corners.

- Place fabrics right sides together, matching the same corners as before and pin in place.
- Cut (2) 36" lengths of ribbon.
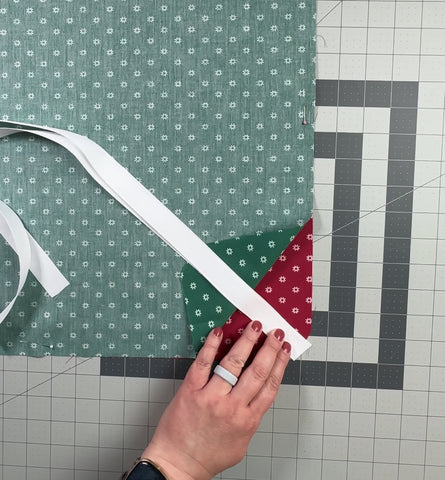
- Place one piece of ribbon on top of the other, matching the raw edges.

- Tuck both pieces of ribbon between the fabrics at the tip of a corner.

- Pin in place so that ¼" of the ribbons is protruding from the layers of fabric. You’ll sew this into place.

- Sew ¼" from the edge, leaving at least a 4" opening. Make sure the unpinned edges of the ribbon do not get caught in stitches on the opposite edges of the wrap. Stitch twice over where the ribbon is placed. Trim the edges of the ribbon to match the seam allowance on the fabric.

- Clip the rounded seams a couple times to reduce bulk.

- Turn right side out and press, using a pin (if desired) to make sure the seam doesn’t get bunched inside the layers of fabric.

- Topstitch the edge, all the way around, including over open edge you used to turn the wrap.
- If desired, topstitch again, ¼" away from the first set of stitching. Use a fancy stitch if you’d like.


- Wrap your gift. Place the gift in the middle of the wrap, with the ribbon at the top. Fold in the sides, then bring the bottom corner of the wrap over your gift. Bring the top corner down to cover the rest of the gift.

- Once it’s wrapped, pull one ribbon down. Take the other piece of ribbon and pull one up so one piece of ribbon is facing up, and the other facing down. Carefully flip over the gift, keeping the ribbons in place. And yes, I did switch sides on the wrap. You didn't miss anything!


- The first option is to take the free ends of the ribbon, wrap around on top of the first layer of ribbon, and tie in a bow to secure.


- For a more accessible wrap, rather than typing a bow as shown on the previous method, tie a slip knot (think starting crochet) that you can simply pull out by tugging on the ends of the ribbon.


- The third option is to cross the ribbons in the middle of the gift and twist to wrap around the free sides. Then bring around to the top of the package where the ribbon is sewn on and secure in a bow.
This will work with bigger wraps, too! The trick is to make length of the ribbons twice as long as the length of any side of your fabric square.
If the ribbon is polyester, cut the final edge on a diagonal and quickly sweep across the raw edge very lightly (and VERY carefully) with a lighter.
Enjoy! And Merry Christmas!
Fabrics are all from the Wintertale collection by Katarina Roccella for Art Gallery Fabrics.