
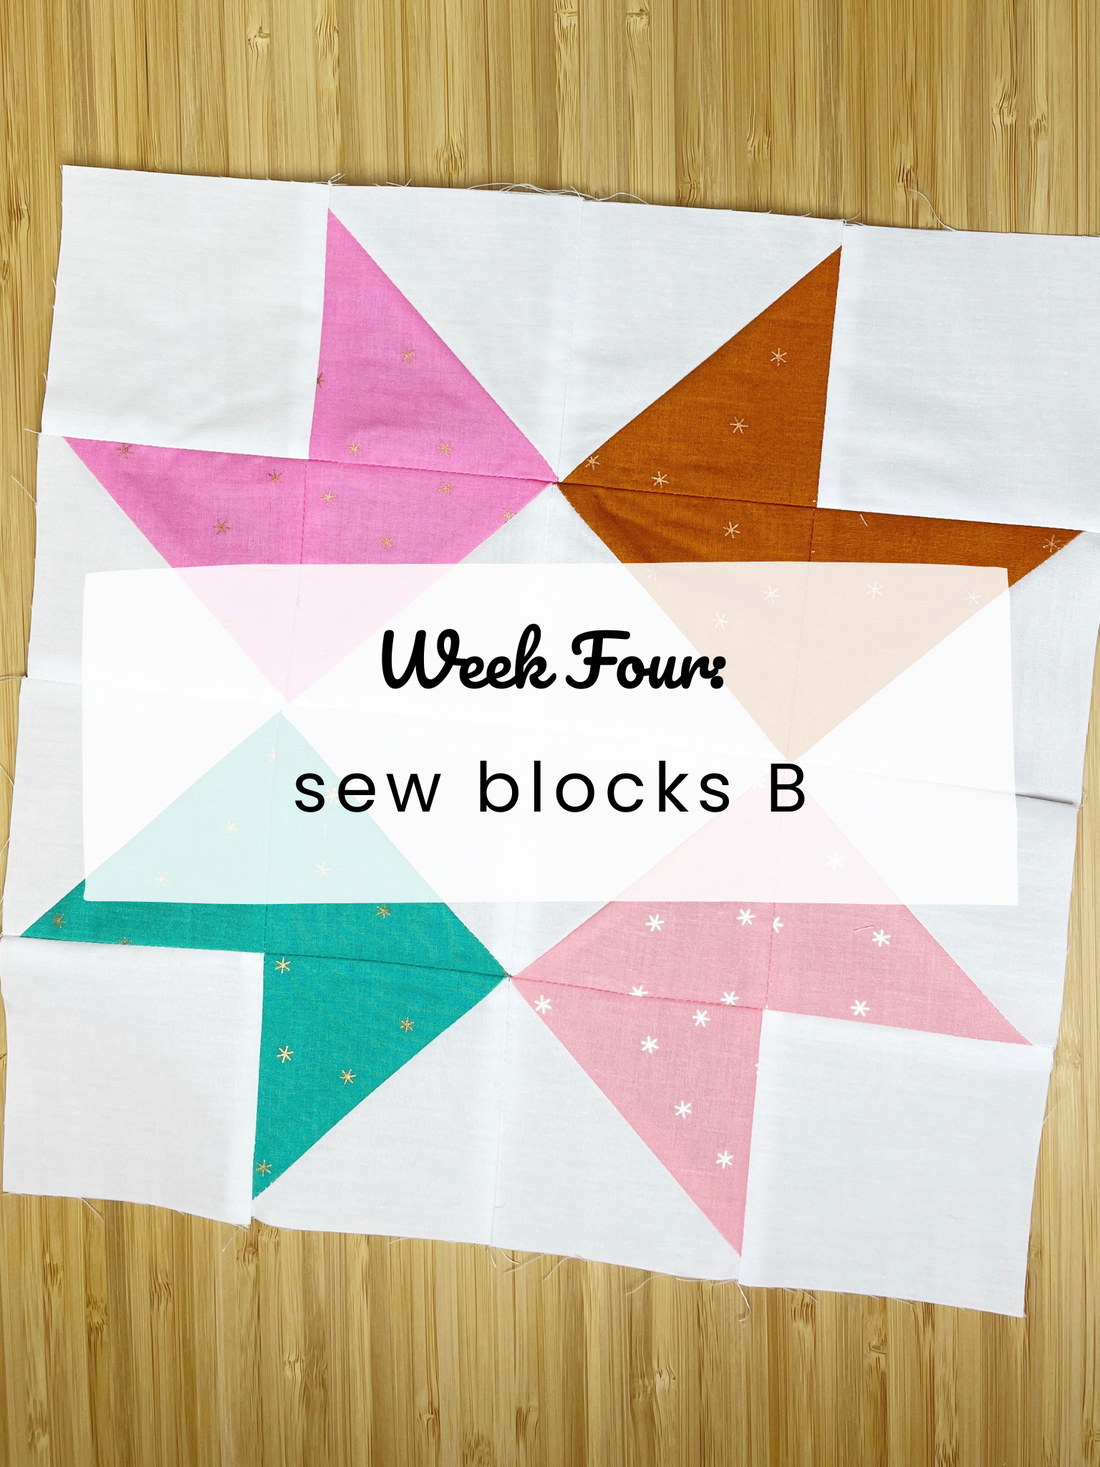

Hey! It's Week Four! Yessss!!!

Chain piecing
This week I'm starting out on the chain piecing tutorial. If you'd like to see how I crank out the HSTs as quickly as possible, head back to Week three's post.
Lay out enough pieces to form one block, then layer them up as shown below. A pretty easy way to do this is to count each little pile into how many blocks you have. Then put them in place. For example, I have eight of these star blocks in my quilt. Each little stack will have 8 pieces.

To organize your little stacks for the first chain pieced block, start at the top of the first column and pick up one piece from each stack down that column. The top piece in your stack should be the one at the very top corner of your block.

Keep gathering all the way down.

Once you've gathered one piece from the first column, set the little stack down at the bottom of that column for now.

Do the same thing with columns two, three, and four.

Here's the tricky part...taking them over to your machine. ;) You'll only be taking over the four little stacks you just made. Now, I'll tell you where to set them so you don't mix them up. The following refers to the respective stacks from those columns:
- To the bottom left of your needle
- To the right of your needle
- To the side of your machine
- To the right side of stack three
You may need to read that a couple times. But it will work and you'll be able to keep it straight!

Here's the fun part where it comes together. Right now you'll be attaching all the pieces from column one to pieces from column two. Pick up a piece from the pile to the left of your needle and lay it down. Then turn a piece from column two at the right of your needle and sew it RST along the right side. Don't cut the threads.
Continue doing the same thing as you go down those two little stacks. When the stacks are gone, cut the thread.

Time to sew on column number three! Take the pile you put at the top left of your machine and move it to the right of your needle. Flip the top piece and sew RST to the first piece at the top of the chain. You're seeing the rows come together! Repeat until the stack from column three is gone.

Next up...yep, you guessed it! Pick up that last stack and sew it in the same manner as the other stacks.

Tada! You have a chain pieced block!

It's kinda nice because it keeps everything together and you can make things a little more automated and productive (if you want).

Pressing the Chain Stitching
I know, I know. Pressing seams open sucks. BUT...it helps with the bulk in these blocks. Your longarmer will thank you! We're going to use a method to speed things up and keep your fingers from getting burned. We'll use a Hera Marker.

Slide the blade end of the Hera Marker between two seams and twist so the seam opens. Then finger press a bit to keep it open. I suggest doing the whole block this way before you even pick up your iron.

Here you see another look. They don't look super flat now, but it will look much better after pressing!

Time to press! Just tap over the seams to flatten.

Much better, right?!

I messed up this block below and I have to show you...when you don't just tap the iron along the seam, you may catch the HST seams you pressed to the dark side and it isn't the best look. Oops!

Sewing up the rows...here we go! It's kinda nice that the rows are already somewhat matched up. Turn the rows RST, do a little extra aligning and clip if needed. I love seeing the block come together!

Sew baby, sew!!

Alright. The seams for the rows are done! One thing we need to do before we head to the ironing board is to clip the little threads that chain pieced the rows. We won't be able to press open unless we do this. Look for the little loop. This is what you clip.

We're going to use the same method we used before to open up the seams. Use your Hera Marker.

Slide it between the seam allowance, give it a little twist.

Then move it up the seam, finger pressing behind it as you go.


Then tap to press, just like we did before.

If you want to be fancy to get flatter seams, I use a quilter's clapper which is basically a piece of finished wood that weighs down the seam after you press it. That will help it stay in position when it cools.
I'm super stoked to see your pretty blocks this week!
