It's week 5 already? It's flying by! The task this week feels a little redundant but progress is usually slow and steady! I have a little tutorial to help those of you making larger size quilts! Also, I'm excited to donate to a local charity!
Remember this photo? This is a queen-sized quilt. Yep! 30 blocks! Yikes! But it was mobile and I was able to cruise through assembly! The first part of the tutorial is different than the simple chain-piecing method as the layout isn't in the shape of a block. Once the stacks are made up, the other instructions are the same. So the last part of the tutorial is exactly the same.

Here's the video for the week!
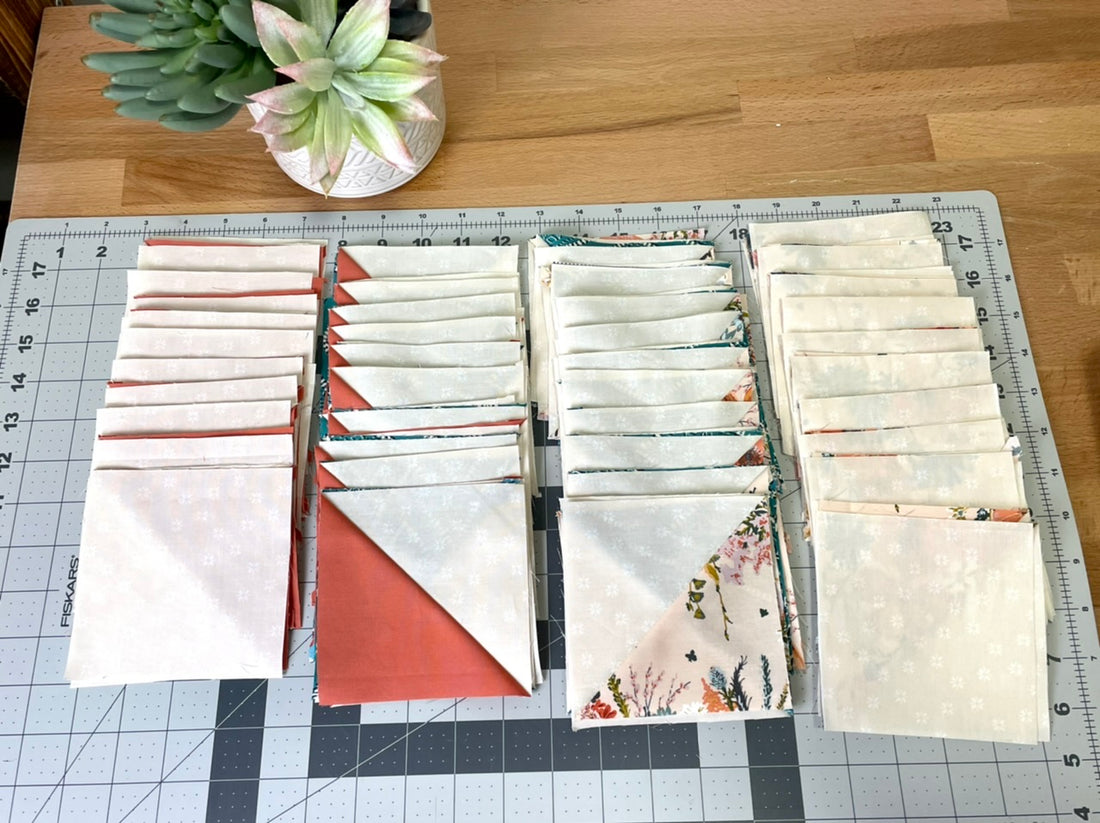
Basically, I'll lay out the block as I did in the simple batch method just as a reference. Then, I move them off to the side so I have room to work, but can still see the layout. I have 12 blocks in this quilt, so I will make 12 stacks of the first column in the block. The first square on top of the stack is the square on the top row of the block. I continue down the other columns until I have 12 stacks in 4 columns.

If you look at the photo below, you'll see 12 stacks in each column. Pick up one stack of each column and move them to your machine, keeping track of which is which. Now things are going to look a lot like last week! The rest of the chain piecing instructions are the same.


Here we go! I take stacks from column one and two and sew the top squares together from each. I don't cut the threads after I'm done. I take the next squares from columns one and two stacks and sew those together as well. I continue through those two stacks until the bottom and then cut the threads.

Then, I bring over the stack from column three and continue sewing them to their corresponding squares I sewed on from column two.

You see a little closer how this is done. Continue with column four once you are done with column three.

Chain piecing is so addicting and I promise it will make piecing so much quicker! After you're done with chaining together the block, you can sew the rows together. As you sew the rows together, clip the little connecting threads between the rows that were created from chain piecing.
We have one more week ahead to assemble our blocks and then we get to put together our whole quilt top! I'm soooo excited to see the beautiful quilts you're making. I love getting to know you better as well!

