
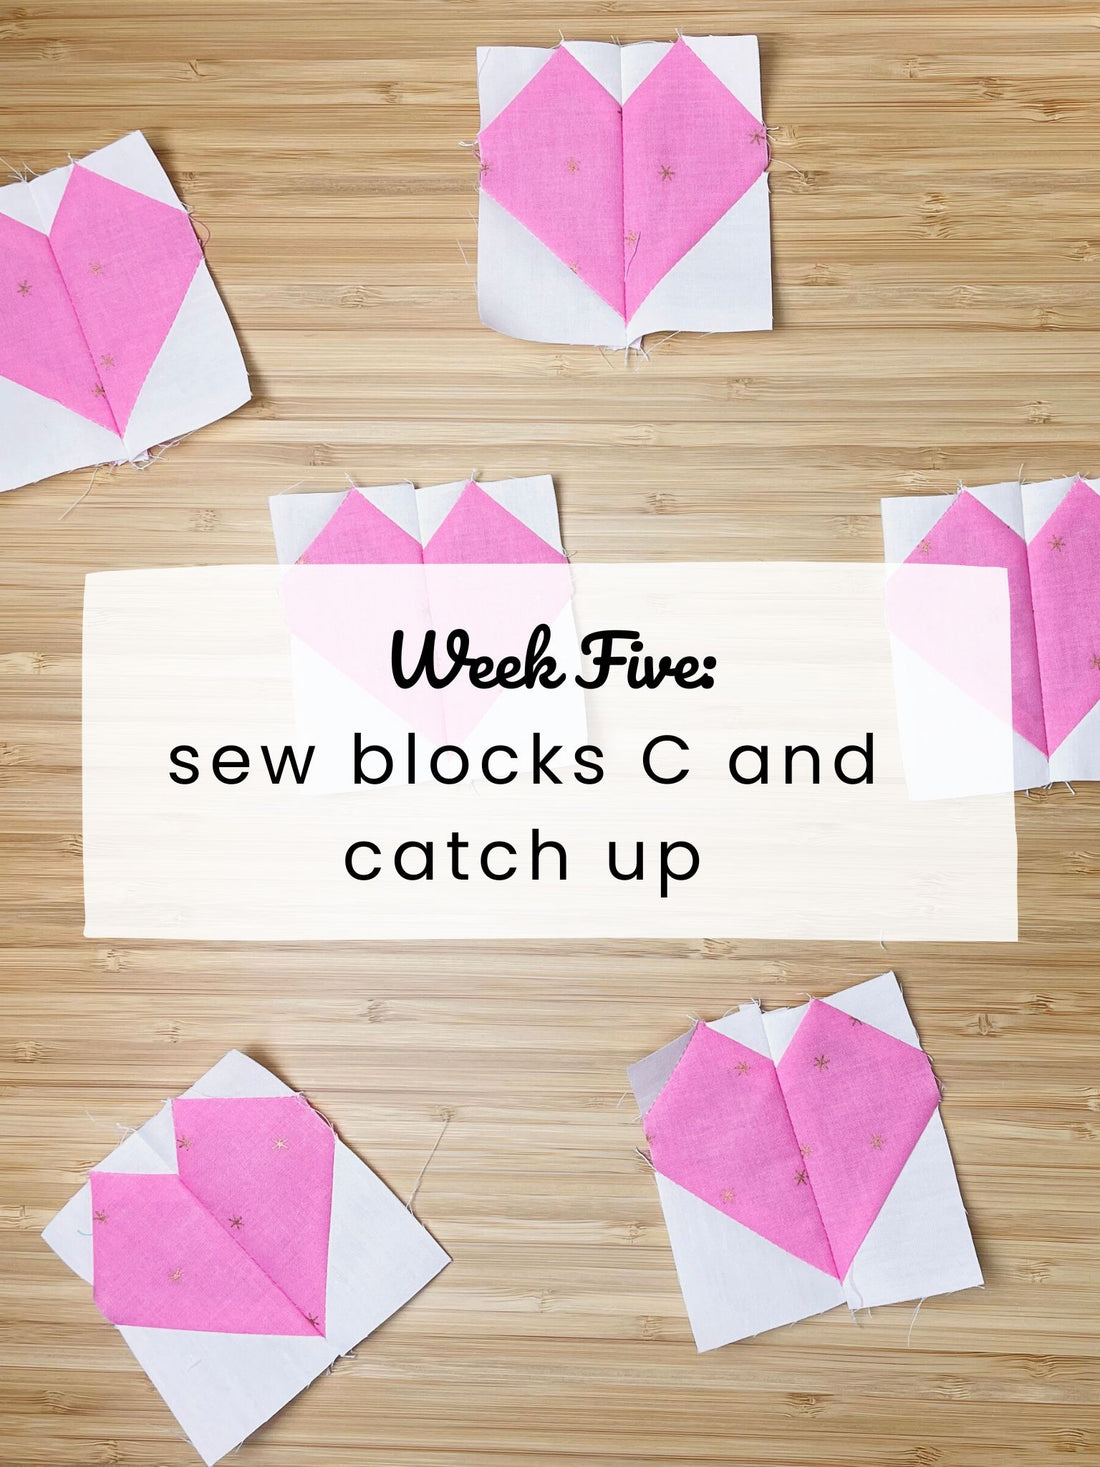

It's week five! We are cruising along!
I'm so in love with all your gorgeous blocks! They're so, so pretty and it actually makes me want to make more quilts like yours!
This week we're making Blocks C. They're small and don't require a ton of work. We're also taking some time to catch up this week, too!

We'll be taking our longer strippy pieces and giving them a nice, fluffy topping of snowballs on the top. Chain piece like you did with Blocks A, with the pieces tilted to give you the correct angle as shown below.

Take them to the cutting board when you're done and cut them into chains that will fit on the board and align the stitched chain straight. You can either align the threads with a line on the board, or align them so the line on the board will be where your ruler will be placed. In other words, the line on the mat will be the "just enough" line where you can cut and leave a decent seam allowance to press.

Lay down your ruler, double check to make sure you aren't cutting through any stitches, then cut.

Remember how we kinda rocked our blade to cut the connecting threads in Block A? We'll do the same here. Rock it away from the piece, just until you hear that little "crunch" that says you cut the thread. Repeat the trimming and crunching process. ;)

Take the pieces back to your machine and chain on the other 1" pieces just adjacent to the last ones you trimmed.

Take them back to your cutting mat and trim and crunch like we did before.

Here's the part to pay attention to in case you're on autopilot (which is easy to do). Divide the strips into two equal stacks. Count them out and check the number twice. Trust me. You'll want to count twice. ;) You'll be doing a large snowball with the 2" squares, but the seams will be on opposite diagonals on each stack.

Take one of the stacks to your machine and set the other aside. Take a 2" background square and line up with the bottom of the strip, opposite the other two background pieces. Chain piece diagonally, sewing the same direction throughout this chain.

Take the chain to your cutting mat, align, and trim off the excess, leaving about 1/4" inch seam allowance. Trim and crunch, as you see in the photos below.


Take the other stack of strips, line up the two inch squares on the bottom of the strip and sew down the OPPOSITE diagonal as you did with the first strip. This will ensure the bottom of the heart "works". Repeat the trimming and crunching process.
Take all these little pretties to your ironing board.

You'll be pressing all pieces to the dark side. Finger press all pieces now if you'd like, or finger press as you go.

Below, I finger pressed before I placed it on the mat.

Here, I just finger pressed the top pieces, and will fix the bigger piece later. Press the little ones first.

Flip the little seam allowance under to the dark side.

The press the bottom part.

You should now have two halves of your hearts, ready to go!

And guess what?! You can chain piece these cuties, too! Put one half of the heart on one side of your needle, and the opposite on the other side.

Match up the top and bottom points as you "mend" these cute, little hearts...lol!

They are sooo cute! Once you've chained them up, cut the connecting threads and head to the ironing mat.

We have one more seam to press! Use a Hera Marker to open up the seam.

Press away! It feels so nice to put the last press on a block piece. Yessss!!!

Don't worry about trimming these blocks unless they're super wonky. The slightly wonky parts will disappear as you sew up the quilt.

That's it for this week! Feel free to catch up as you need to.
Now's a good time to mention a surprise. :D Remember our amazing quilt along longarm sponsor, Joyce @evamaescustomquilts? If you need a reminder of the deal she's offering, see below. AND for one lucky quilter, she's offering FREE LONGARM QUILTING for a Nyla Star Quilt, square throw and smaller. For larger quilts, you'd pay the difference. So generous! There will be a hashtag you'll use at the end of the quilt along to help us draw a winner. Details coming during the reveals week. To quality for the drawing, you'll need to have at least Blocks A completed in the quilt along.
