
I'm so excited! This week is the fun part where we see our quilts come together! Plus, we have an opportunity to get to know an ancestor or family member. 
This week I'm sharing a little on how I assemble quilts. Check out the video below to see how I match up my sashing and assemble the center of the quilt.
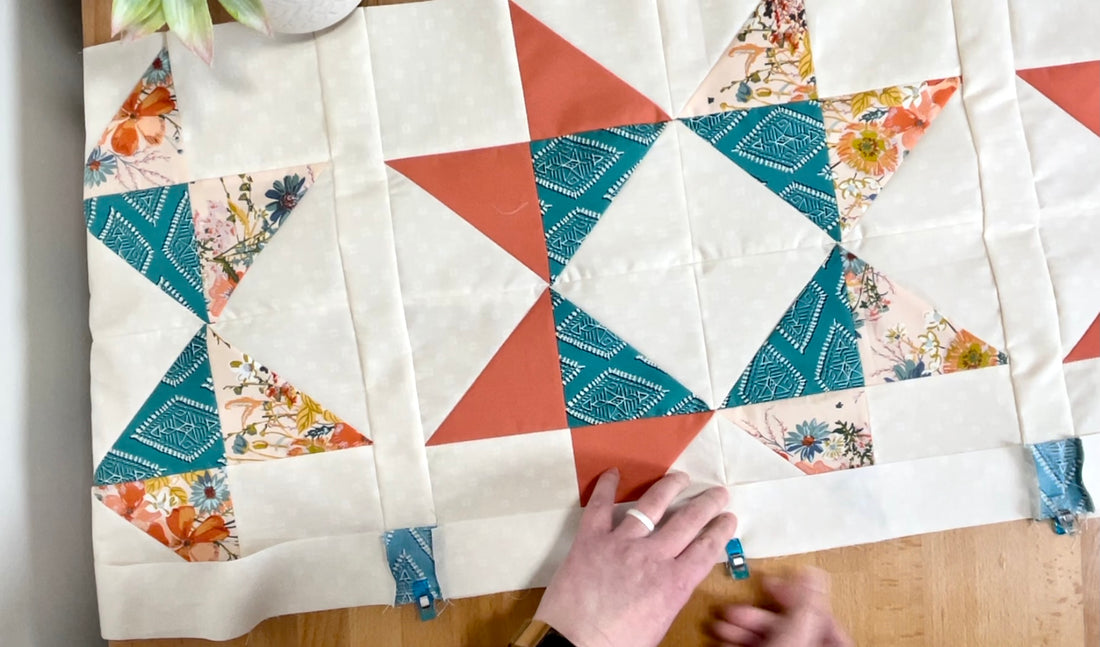
For sashing, I have a little trick to pin/clip the sashing to a row of blocks. I match up just the sashing square on the horizontal sashing to the vertical sashing. Then I clip it with a Clover Wonder Clip.
Then, I clip the remaining sash squares in place, then put another clip in the middle somewhere on the center of the block.

Now, it's off to the machine! When there are a lot of seams pressed on something I'm sewing, I'll put the "seam" side up when attaching so I can direct those seams to the right place before they go under the needle.
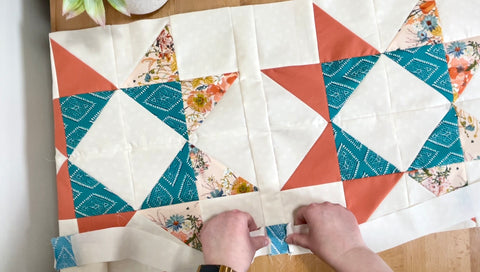
After the center of the quilt is done, here comes the trick part on attaching borders with the border squares. I attached the long borders to the sides first. Then, I take my border "roll up" and attach a border square to the end.

Then, attach it to the top edge.

You might ask yourself, "Did she trim the borders to fit?" Nope! Not yet. I've been burned too many times by too-short borders. Or maybe I'm just bad at measuring. ;) Keep sewing it on until you get to the last block across the top.

Now you're going to trim your border. Don't get scared...

Lay out your border piece on top of the quilt, RST. See where my pencil is pointing? That's 1/4" over where you'd have a nice seam allowance to attach your border square.

Make a mark at the same spot on your border piece you'll be trimming.

Line up your ruler on that mark, making sure your ruler is perpendicular to the border, then trim.
/
Tada! That border square is ready to attach and guess what? It's going to match up!

Then sew on the remaining border. Woohoo! You did it, and didn't waste any fabric!

I can't wait for reveals week next week...I am soooo excited to see your gorgeous quilts!!!