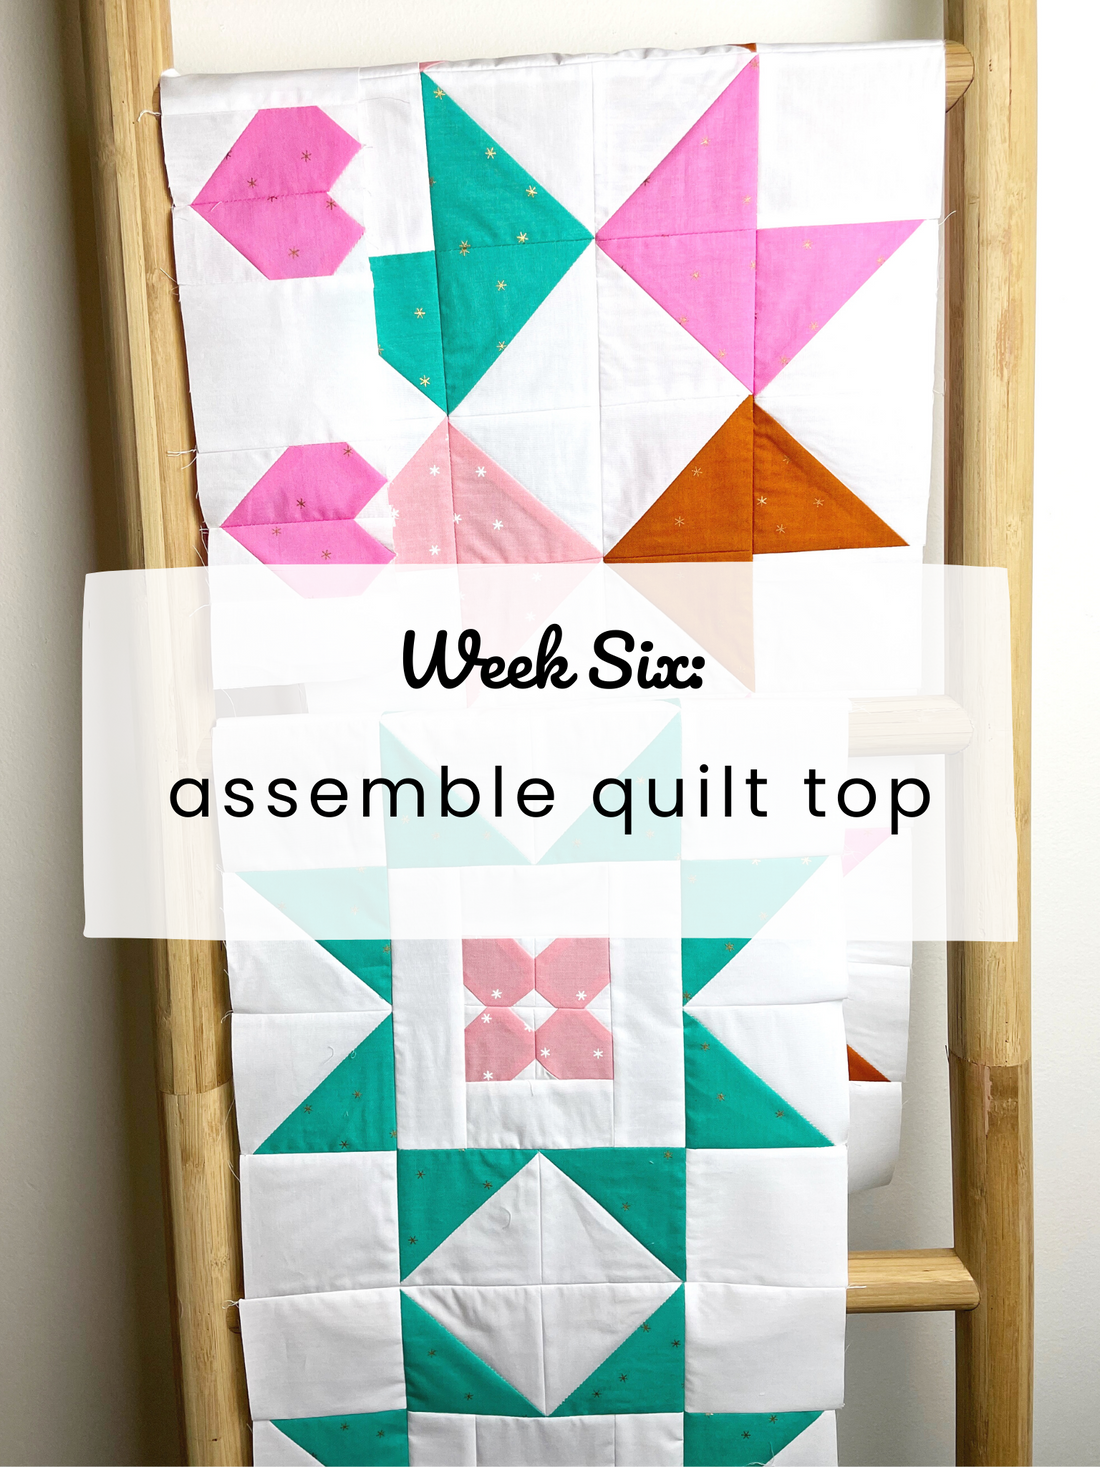
I looove this week because here's where the magic really happens!
All the blood (maybe), sweat (definitely), and tears (stay away, seam ripper) will all be worth it this week! You've paid your dues with those pesky 1" squares and HSTs. Now it's time to see it all pay off! Read on because I'll have some tips for aligning your pieces as you sew this pretty up!

Rows with Blocks A and B
Sewing together the rows with Blocks A and B are a little deceiving. Honestly, all you need to do is line up certain points that will stand out, and you're good to go. It's not as hard as you may think, so don't panic!
Basically, we'll be sewing together Blocks A side by side. Watch the flower sub blocks to make sure the longer pieces surrounding the flower are parallel to where you're sitting.
Below you'll see that I've clipped only TWO points on these blocks I'm sewing together. When you're matching up the seams, pay attention to the points only, as they're the ones that will show up the most in the quilt top (AKA who cares about how both the seams with only background line up). Continue until all the rows with Blocks A are sewn up according to the diagram in the pattern.

We're going to press these seams open. I know you don't want to, and that's totally fine. ;) But I'm going to show you how to press them open without burning your fingers. Just a reminder of what we've already learned.

Take a Hera Marker and insert it between the seam allowances.

Then twist, opening up the seam allowance.

Do a combo of sliding the blade side of the Hera Marker down the seam allowance, and finger pressing to keep the seam open before using your iron.

When it's laying open, press by tapping with your iron. Gliding your iron along may press other seams in a way you don't intend, so just press with a straight up and down motion.

Repeat the process with Blocks B, watching the orientation of the blocks as you sew them into rows. match the colored points only.

Once the seams have been pressed open with your Hera Marker and finger pressing, tap with the iron as before.

Sewing together rows with Blocks C
Those cute little hearts! Sew them together into rows, alternating with squares, and with the appropriate square or rectangle leading out. See your diagram for this step and double check it. This one is a little tricky to get the hearts to offset on the larger quilts.

You're going to be so happy on how we'll be pressing these! They're not open! They're to the side!

We'll be pressing these toward the background. If you need to give a very slight tug to the background squares as you press, you can. That will ensure the row is the right width.

Yay! You're ready to sew up your rows!!

Sashing and sewing up the quilt

Time to get sashing done! Sew the sashing together, right sides together. I actually chain stitch this. It's a lot quicker for me.

I start with sewing the sashing on to the larger block rows because they have the least amount of variability on the edge if that makes sense. It might seem weird, but I sew the sashing onto the bottom side, closest to the machine and whatever has the most seam allowances to navigate on top. It feels awkward at first, but you'll be able to make your seam allowances on the block mind much better.


Repeat with the other rows. You'll attach the rows with hearts last. You've created a nice, straight line to sew them onto with the sashing already attached.

Press the blocks to the sashing.

Here's the tricky part...lining up the rows with the hearts! Lay out a row with Blocks A, then lay down the hearts below. You'll notice the centers of the hearts can align well with the points on the stars. This only occurs on the quilts larger than crib though...ignore this if you're making a crib size.

Clip RST, aligning with those points. Make sure you place the clip at the most important points. You may need to tug just a tiny bit if the hearts don't align, then ease as you sew. As you clip, start from the middle and work out.

Sew with the hearts facing up so you can control the seam allowances. If the hearts are a little uneven across the top, line up as well as you can.

Tada! Keep sewing the rows with the hearts on to block rows.

On the rows with Blocks B, the centers of the hearts will align with the middle of the star. This also is true for all rows in the crib size. :)

Then, connect these larger composite rows together, aligning hearts, points, and centers!!

We're sooo close! Watch next week for information on how to enter the giveaway for free longarm quilting (throw size) for one lucky quilter!

