


I'm sooo ready to cut some fabric!
I'll show two tools I use to cut fabric, a regular, long ruler and a Stripology ruler. For smaller pieces, feel free to add a spritz of starch and press before you cut.
Cutting using a long ruler
Below I'm using the long ruler. When I first started quilting, I thought I'd use the cutting mat as the biggest measuring tool when cutting, but it's really the opposite! Using the ruler is the most accurate way to cut.
I'm guessing you already know how to do this, but just a little refresher for us. Feel free to correct me if I'm a little off in my approach. ;) I fold the fabric lengthwise, aligning the selvage with the fold and smoothing out any wrinkles.
Take a long ruler and trim up the edge you'll be cutting so it's perfectly even. Use the horizontal marks on the ruler to make sure it's parallel with the fabric and trim maybe a 1/4" of the fabric off the raw edge to correct any uneven parts when the fabric was last cut.
Then, we'll align the ruler as shown below to cut a strip. The strip will be 3 1/2" wide. Align the raw edge of the fabric with the 3 1/2" vertical line on the ruler, and check the horizontal lines to make sure they're parallel with the fold at the top and bottom of the fabric.
It would be ideal to place part of your left hand on the template and part on the cutting mat, stabilizing the ruler on the fabric throughout the cut. But if the ruler is too wide to add adequate stabilization, I'll rest by hand and arm on the ruler as I cut to make sure it stays put. Check your measurement twice, take a breath, and make that cut!

Phew! Done! After you've cut your strips, you can multitask. Unfold the strip so it's only doubled, aligning selvages. Lay out the strips on the mat, lining up with the horizontal lines on the cutting mat. You can stack two or three strips on top of each other as well. This will really help when you're cutting out the very small pieces. :)
After you've carefully lined up the strips, trim the edge. Then, place the ruler on the fabric at the right vertical measurement. Align the horizontal lines on the ruler with the strip as well. Then, cut.

Cutting using a Stripology ruler
The Stripology ruler is my favorite tool to speed up cutting. You don't need to purchase this, but if you do have one, here's how I use it.
Fold the fabric in half lengthwise, as I mentioned in the above method. Simply lay the Stripology ruler over the top of the folded fabric, aligning the horizontal line with the fold. On the left hand side, make sure there's a little overlap on the left of the first cutting line, so you can trim it up before cutting the actual pieces.
Place your hand on top of the ruler, safely close to the cutting mark to stabilize the ruler. Check your measurements before you cut. Replace your hand as you work down the ruler.

Now that your strips are cut, place them on the mat, just like we did in the long ruler method, and layered up to three strips at a time. I don't usually layer more than three strips in one stack. Below there are several stacks.
Repeat steps above to complete the cutting of the strips into smaller pieces.

Those small pieces? Yeah. I know. And I'm sooo sorry! But they'll look so cute!!! And when I mentioned adding a spritz of starch and pressing before cutting the tiny pieces? Yep! This is that moment. ;) I store them in a little container in a little jar so they don't randomly get blown away or have any "helpers" clean up after me and throw them out. ;)

What about those strips where I don't need to cut a whole strip? So I have a special method for those. I'll calculate how many pieces I'll need on that partial strip, then place that strip toward the top of the ruler. Then I'll cut normally through all strips until I've cut what I need from the top strip, then continue cutting the bottom strip, stopping short so I don't cut any more from the top strip.

Here you see what I did just a little bit better. You just have to remember to stop cutting the top strip when you're done. :)

When I'm done cutting, it's nice to put the pieces in a container to protect them from any "household disasters" that may randomly manifest. ;)

Pretty selvages...I want to keep them all!!
You know those super pretty selvages? Here's how I easily trim them from half-yard pieces. I'll fold in half lengthwise as though I'm going to cut them with a ruler.

Lift the top layer with the pretty selvage to separate from the other selvage edge.

Pull the pretty layer down and keep pulling until only that edge is along the cutting mat.

Lay down the ruler on the edge of the selvage and cut off the selvage.

Yummy, yummy selvage! Soooo pretty! Use them for quilt labels or pretty selvage projects.

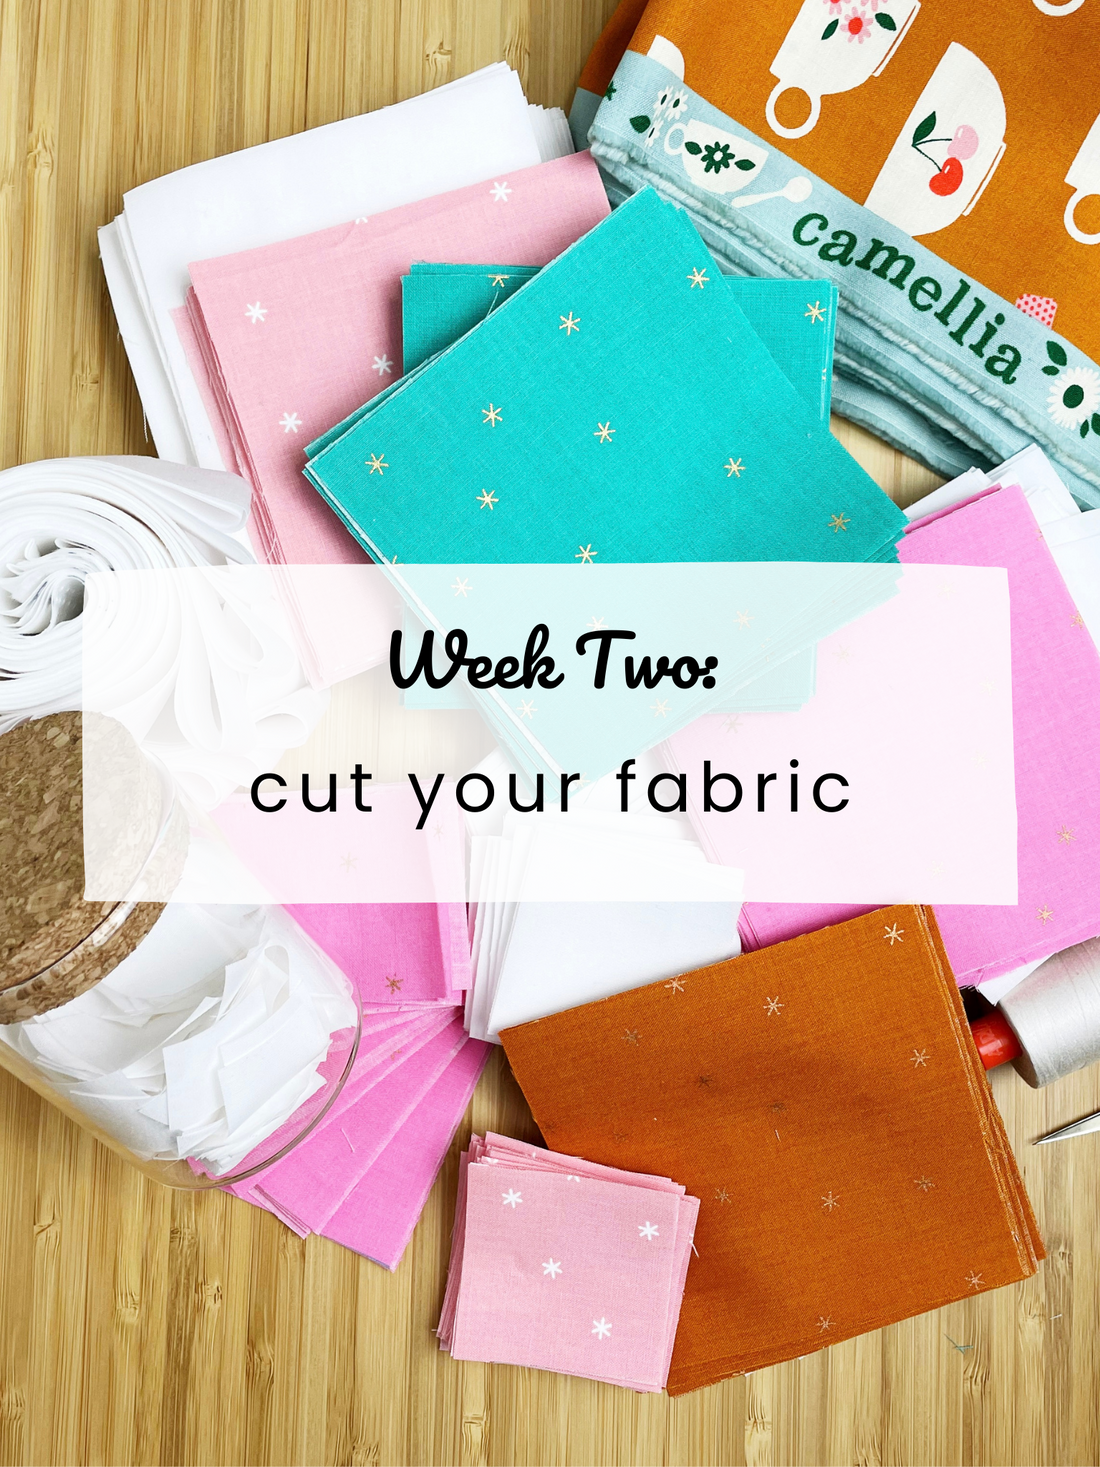
Ohhhh yeah. Nothing like a freshly-cut stack of pretty fabric, ready for sewing! I'm so excited to see all the pretty fabric this week, friends!