
It’s week six already? I can’t believe that we’ve come this far! This week will be learning about how to press blocks open without burning our fingers. I have a cool trick for you. Also, check out the photos below to see how I assemble the block after chain piecing.
Our warm and cozy challenge this week includes organizing a spot in our sewing area. I know I need to get this done!

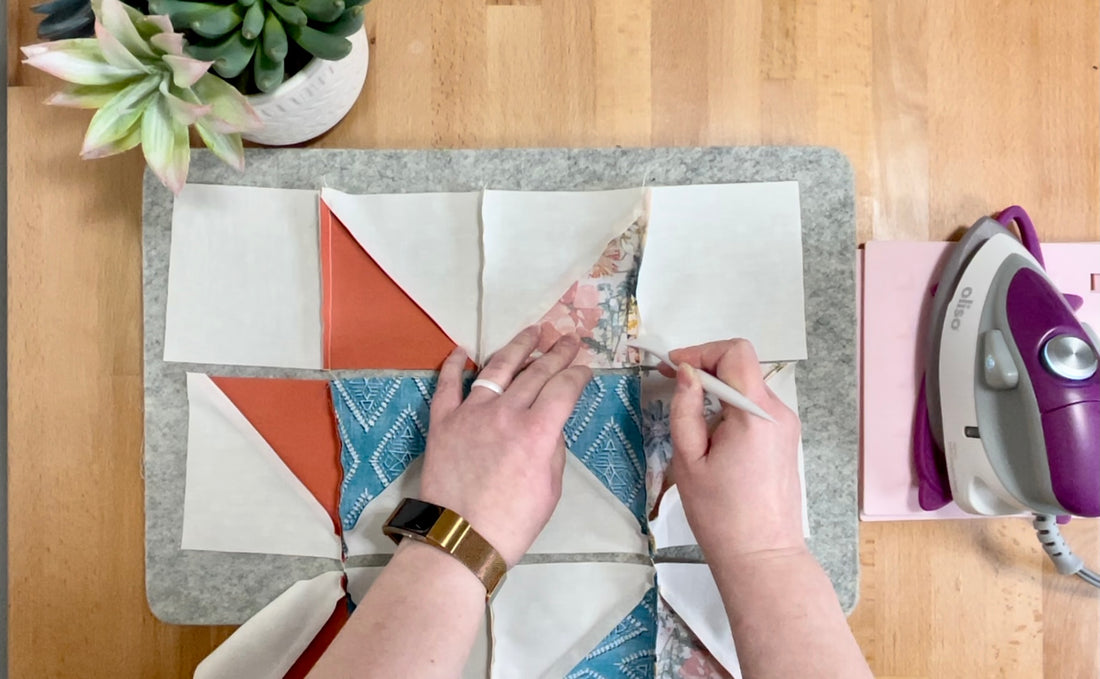
The reason we press these blocks open is because the seams will be pretty thick otherwise. It would be much easier with open seems when we are quilting or sending off to a long armer. Check out the tutorial below to see how I use a Clover Hera slim marker to open my seams and get them ready for pressing.
To open my seams, I insert the curved end of the Hera marker into the seam, and just twist! See how the seam opens? Then you’re able to finger press the seam open the rest of the way, and then get it ready to press.


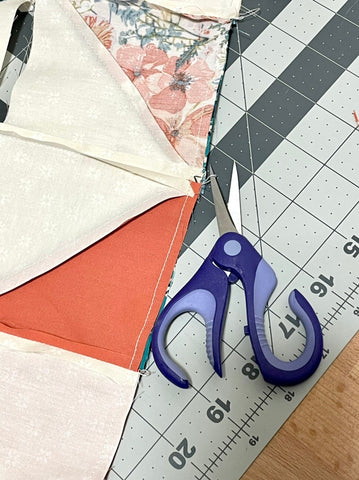
After we’re done pressing the seams open, I’ll show you how I sew the rest of the block together. I leave the chain stitching intact, match up the blocks and clip them together with Clover Wonder Clips.

After I sew the rows together, I use my scissors to clip the chain stitching “loop” that is left over, so I can press the remaining seams on the block open.
Next week will be able to assemble the rest of our quilt! Once the blocks are simple, the rest comes together super quickly!